If you are reading this post it’s because you purchased one of our punch needle kits. So first, thank you very much for supporting both of our small businesses.
A little bit more about this collaboration
In 2019, I met Larissa and all her team from Bead&Fiber in the cute shop in SOWA Boston. In 2020, many people were looking for a way to keep their hands busy and it was we decided together to create those kits. Bead&Fiber selected beautiful yarns, different textures, colors, size but all amazing quality.
About the Bead&Fiber X TheComptoir punch needle kit
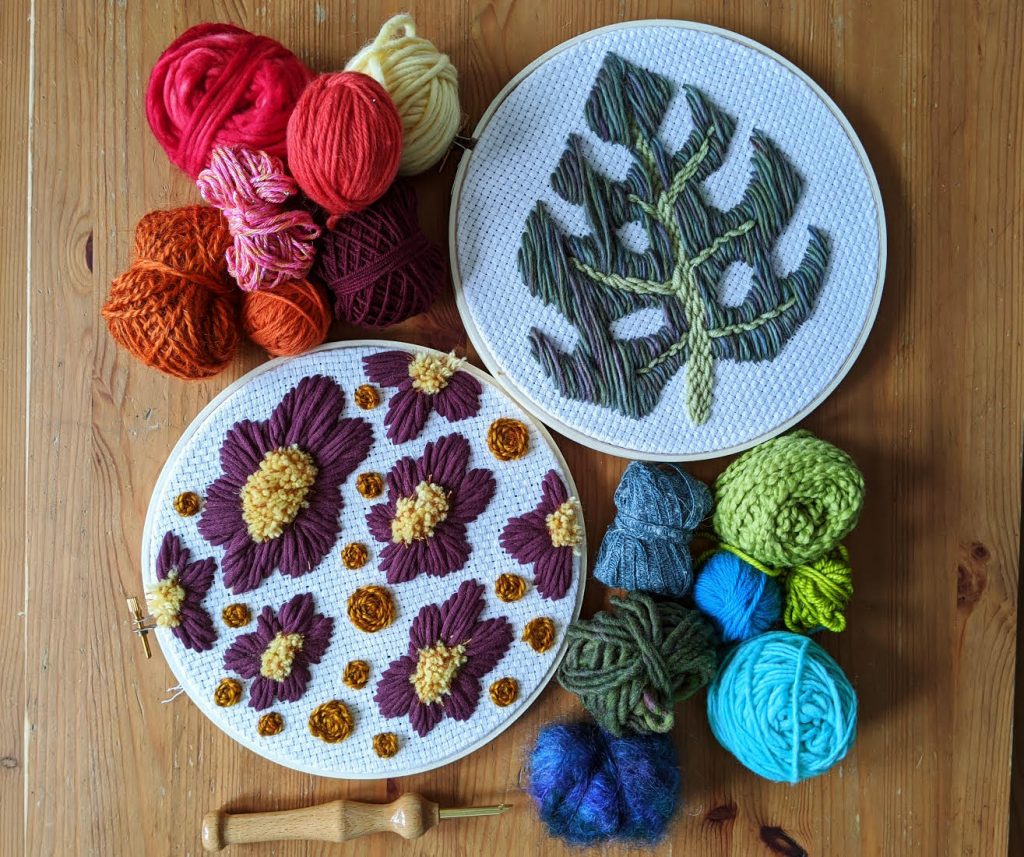
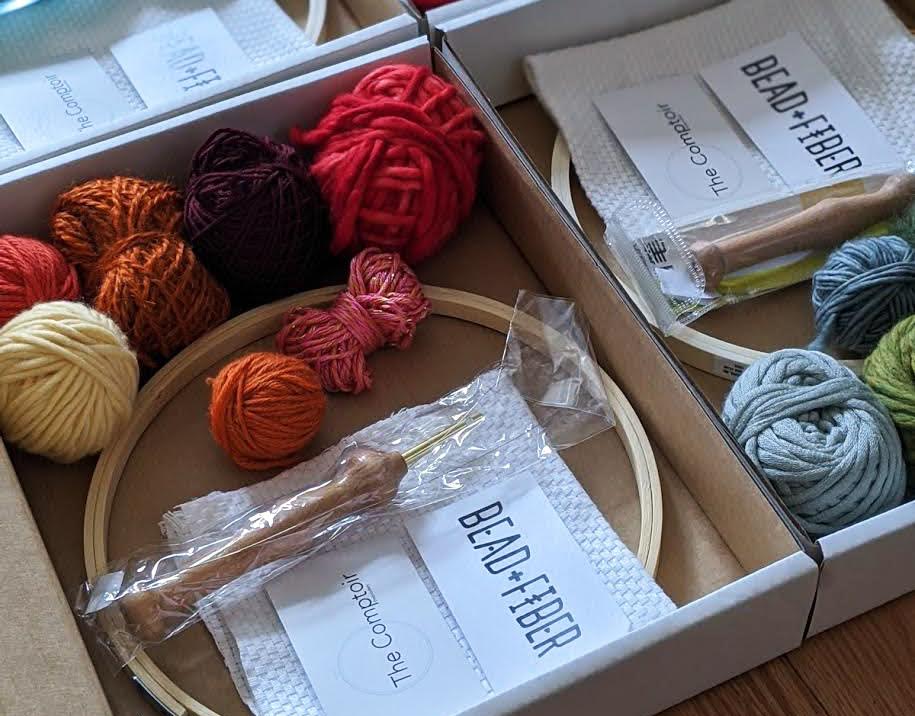
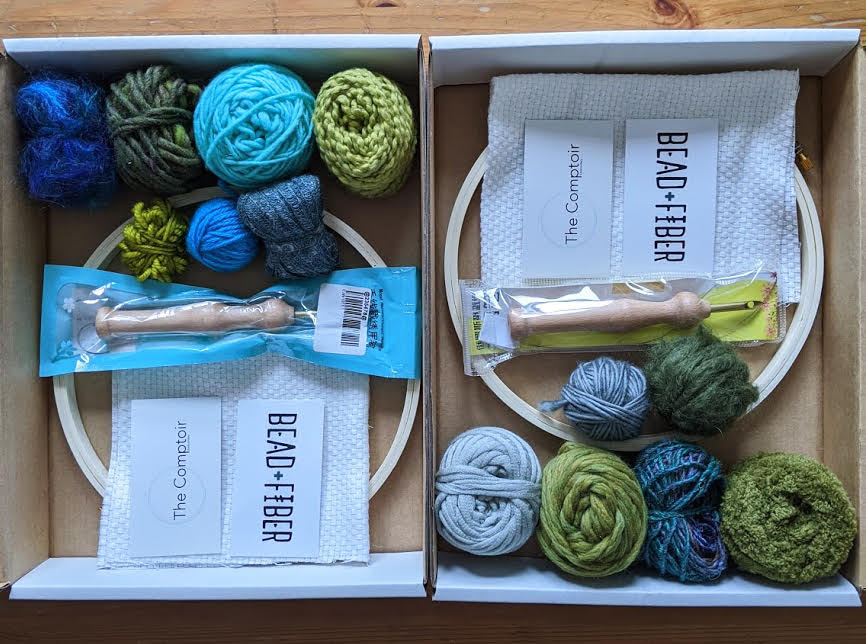
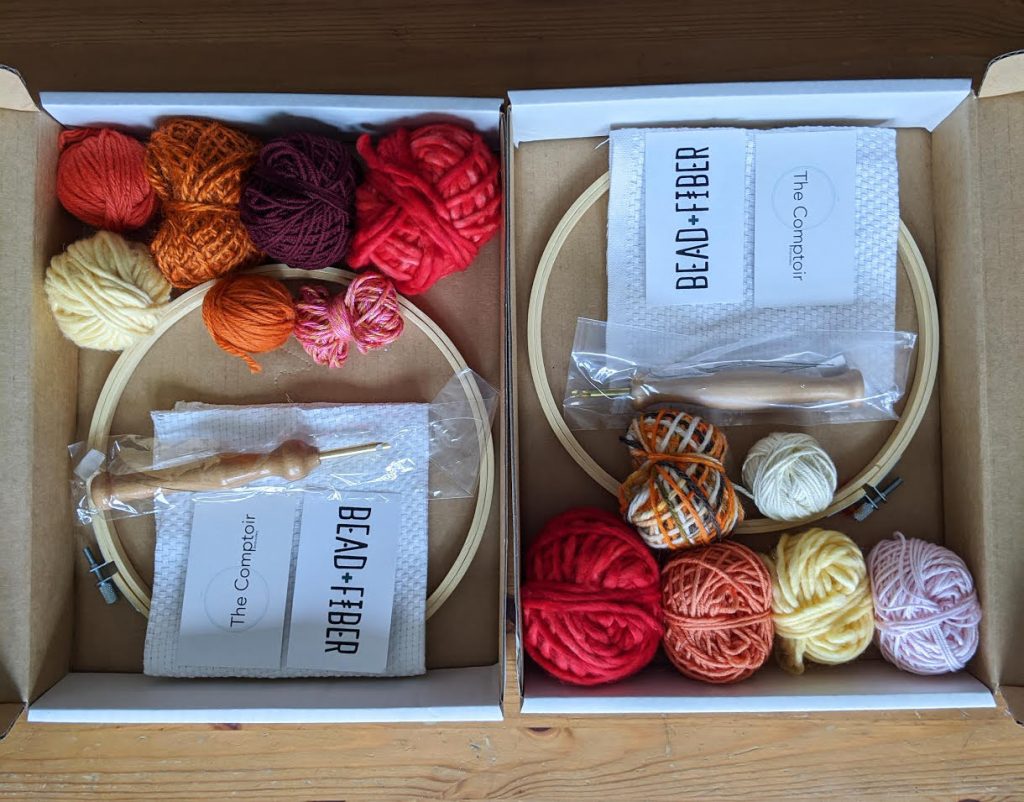
This kit is a great way for you to start punch needling and you’ll find inside everything you need to make your very first punch needle project. This kit includes :
- a punch needle and a threader
- a 8″ embroidery hoop
- a piece of monks cloth
- a selection of yarn
You can find more informations about yarn on Bead&Fiber website, just click here. For you punch needle project, you can use any kind of yarn. If you think your yarn is too small to fit your punch needle, you can double it or you can use it in the meantime with another one. That way it can make a double color yarn.
This kit exists in two variations, with cold or warm colors of yarn. And just as a reminder, this is the link to purchase a kit (here).
Let’s talk about punch needling
The full name of this technique is punch needle rug hooking. It’s a craft or art technique of looping yarn, ribbon or floss through the fabric. For me it’s another way to do embroidery.
There are two different kinds of stitches you can do with your punch needle: the flat stitch when you punch from the front, or the long loop when you punch from the back. Flat stitches can be small or long. It depends on your fabric, your design, your needle and your yarn. You can have different kinds of long loops. Some punch needles are adjustable so you can play with short or long loops.
The different stitches
As I said just before, you can do two major kinds of stitches with your punch needle: the flat stitch and the long loop stitch.
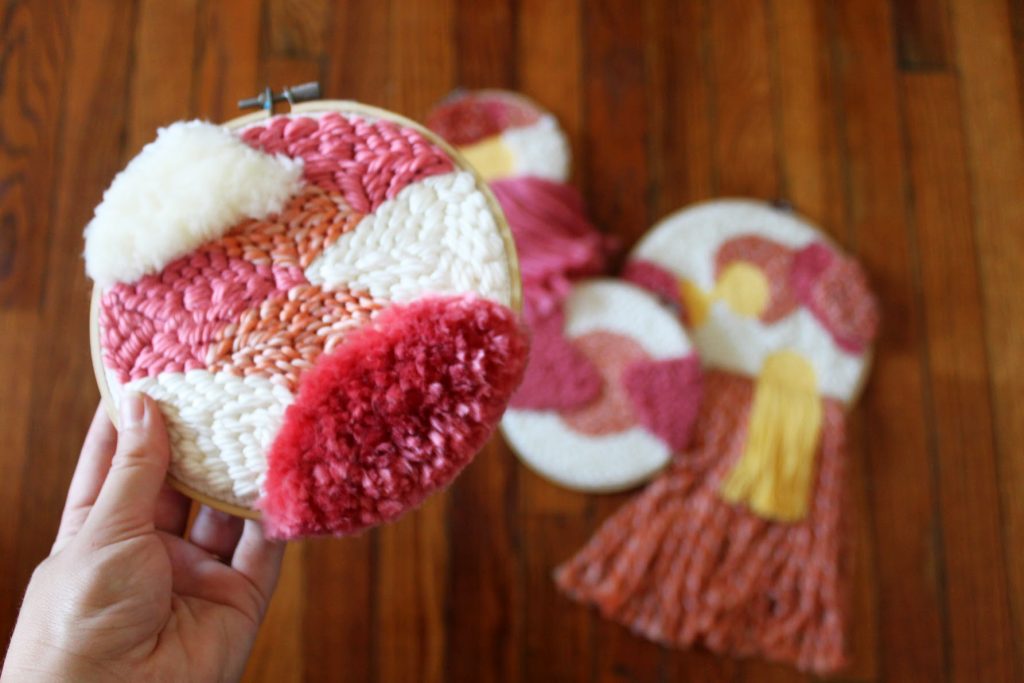
These two stitches are not used for the same thing. The flat stitch is good for lines and for surfaces. The long loop stitch is a perfect way to create volume on your work. It can give a fluffy looking and it can cover surface faster than a the flat stitch.

The first picture is the front and the second picture is the back. From the back, your stitches look the opposite: on the back, the flat stitch is a long loop stitch and the long loop stitch is a flat stitch.
Once you are more comfortable with these two kinds of stitches, you can try different way to make them. For example, you can make very long flat stitches:

The long flat stitch is great and a fast way to feel big areas and it’s less yarn consuming than the regular flat stitch.
And you can also try to make fluffier texture by making long loop stitches, and then, you can cut each loop to have this fluffy texture:

How to thread a punch needle

For any regular punch needle, you will need to use a threader to put on the yarn first through the chamber and then through the eye of the punch needle as shown on pictures above.
How to put the fabric in your hoop

One of the most important secret to have the best result in all your needle project is the tension and how you to set up your hoop. You need to have the right amount of tension on your fabric. Especially for this project, it’s important to have your fabric very tight all the time. So think about checking the tension often.
An embroidery hoop is made of two hoops: the inner one and the outer one. Your first step should be to loosen the screw on the outer hoop and then you can separate the two pieces of the hoop (a).
Place the inner hoop on a flat surface and lay the fabric over the hoop (b). Place the outer hoop over it (c) and use both hands to press it down onto the inner hoop (d). The tension of the fabric should already feel fairly tight. You can now tighten the screw and then gently pull the fabric with your fingers to make tight and even (e). You will know that your fabric is tight enough when it makes a drum sound (f).
How to trace a design on your fabric
Now, you have your hoop ready, you are almost ready to start your project. Actually if you don’t want to use any pattern and just do it free hand, you can start now. If you prefer to use a pattern, this is how you should proceed. If you want to use a pattern you found online, you can print it and transfer it on your fabric. If you have a light box, it’s perfect. If you don’t have one, you can tape your printed-out pattern to the back side of your fabric and trace the pattern thanks to the light from your window for example. You can use pencils, permanent fabric makers or markers to trace your design.

If you don’t want to use a predetermined design, you can directly trace your design on your fabric with a marker.
Last but not least
Let’s talk about a last texture – the fringe, you are going to need a crochet hook #4 to make it. For this example, I cut 10 sections of the pink yarn, 14 inches long and 20 sections of the red yarn,12 inches long (a). You’ll also need a lot of 20 inches long sections of the grey yarn.

Then take one of this piece of yarn and fold it in two from the middle of it (b), it’s going to make a sort of loop, hold it in your hand. With your other hand, take you crochet hook and from the back (b), grab this loop and bring it to the back of your piece (c). Then take your crochet hook off. From the front, grab the loop in the back and bring it back to the front (d). Now, take the two tails of the fringe and put them through the loop and pull (e, f). Your first fringe is done (g)!

Continue to fill the area with the 3 colors, two rows should be enough. If you can see the monk’s cloth through your fringe, that means you need to add some. When it’s done, I like to cut all the fringe to be sure they are all the same size.
Finishing up
The first thing you can do now is to tighten your fabric. After, you can cut all extra yarns on the back. Don’t pull them too hard, you may remove all your work! Your embroidery is almost finished. You can put glue on the inner hoop (a) by section, with your glue gun, or any other kind of glue. Then fold the fabric tight on the glue (b).

When it’s dry, you can cut all excess fabric from around your hoop with scissors, leaving about a 1/4 inch of cloth (c).
If you made long flat stitch you can put some glue on the back to secure your stitches. When you are all set, you can cover the back of your stitching with paper or felt, but you can also leave it as it is! You just finished your punch needle project.
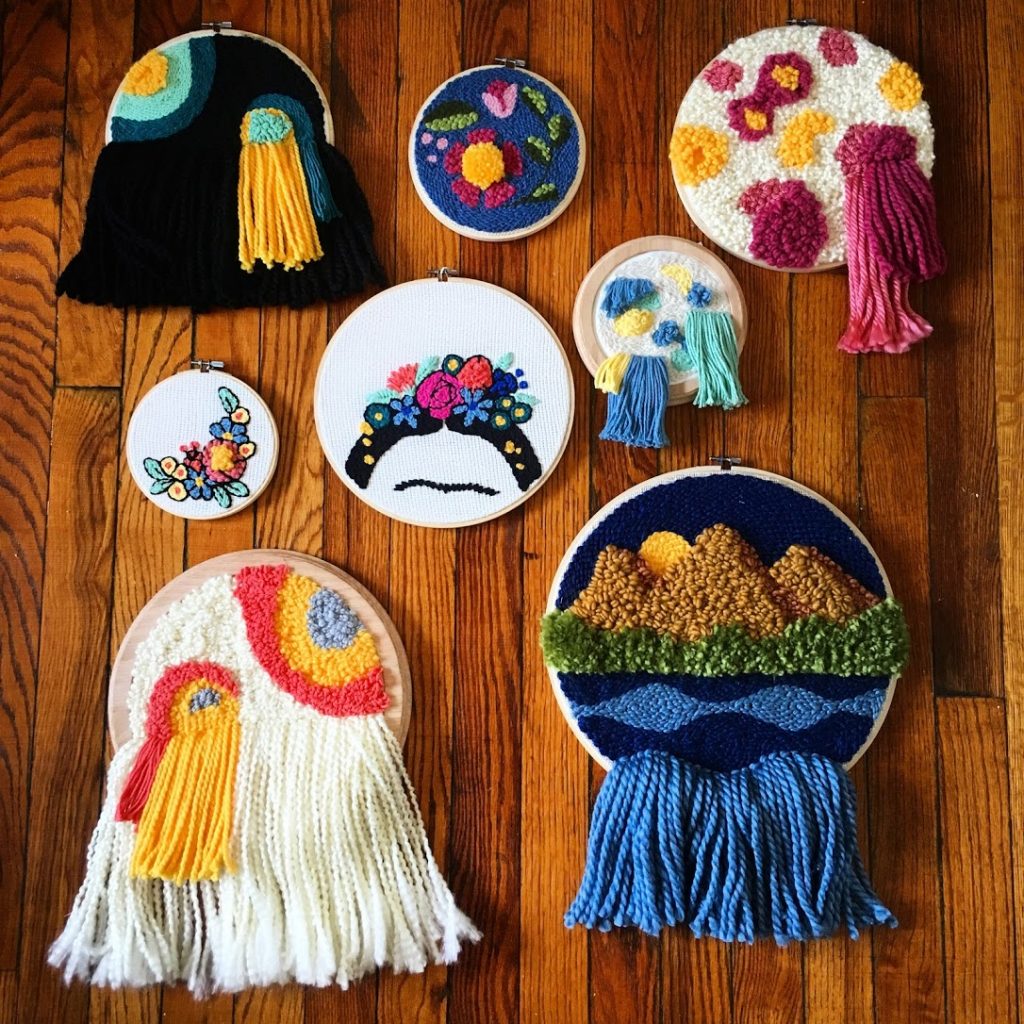
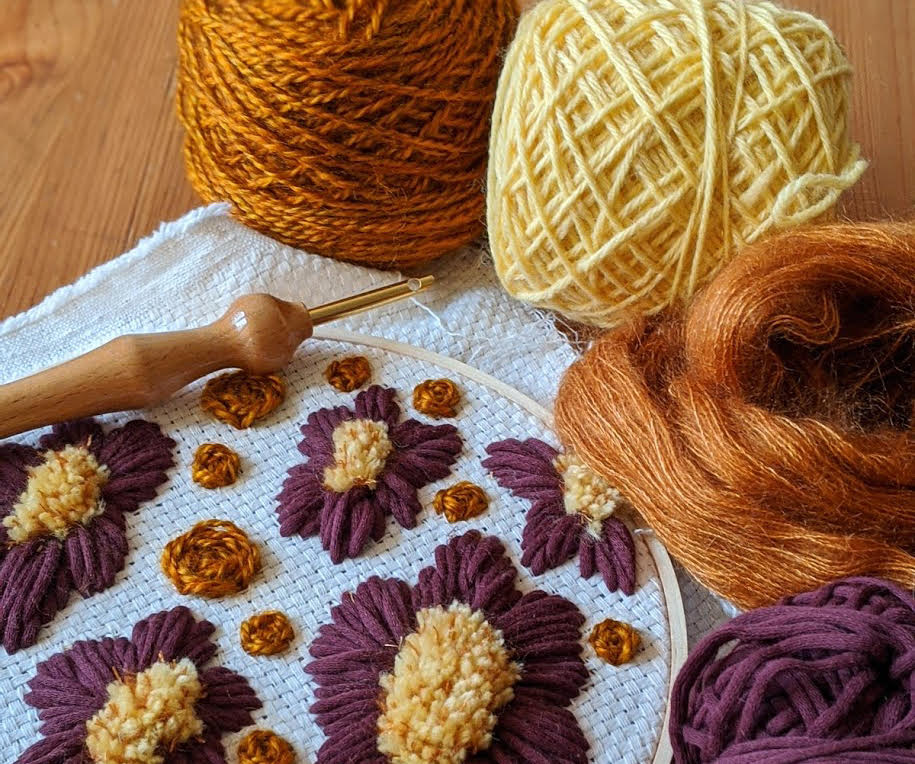
And more!
If you need some inspiration, let me show you some punch needle pieces I made. And if you have any questions about your project, please feel free to contact me: thecomptoir@gmail.com
Thank you again for supporting both of our small businesses and we hope you add a lot of fun.
Elise & Larissa (and all the team of Bead&Fiber)