Thank you for purchasing this punch needle kit. In this post you are going to find all tips and explanations you need to start this craft and create beautiful pieces.
What is punch needle?
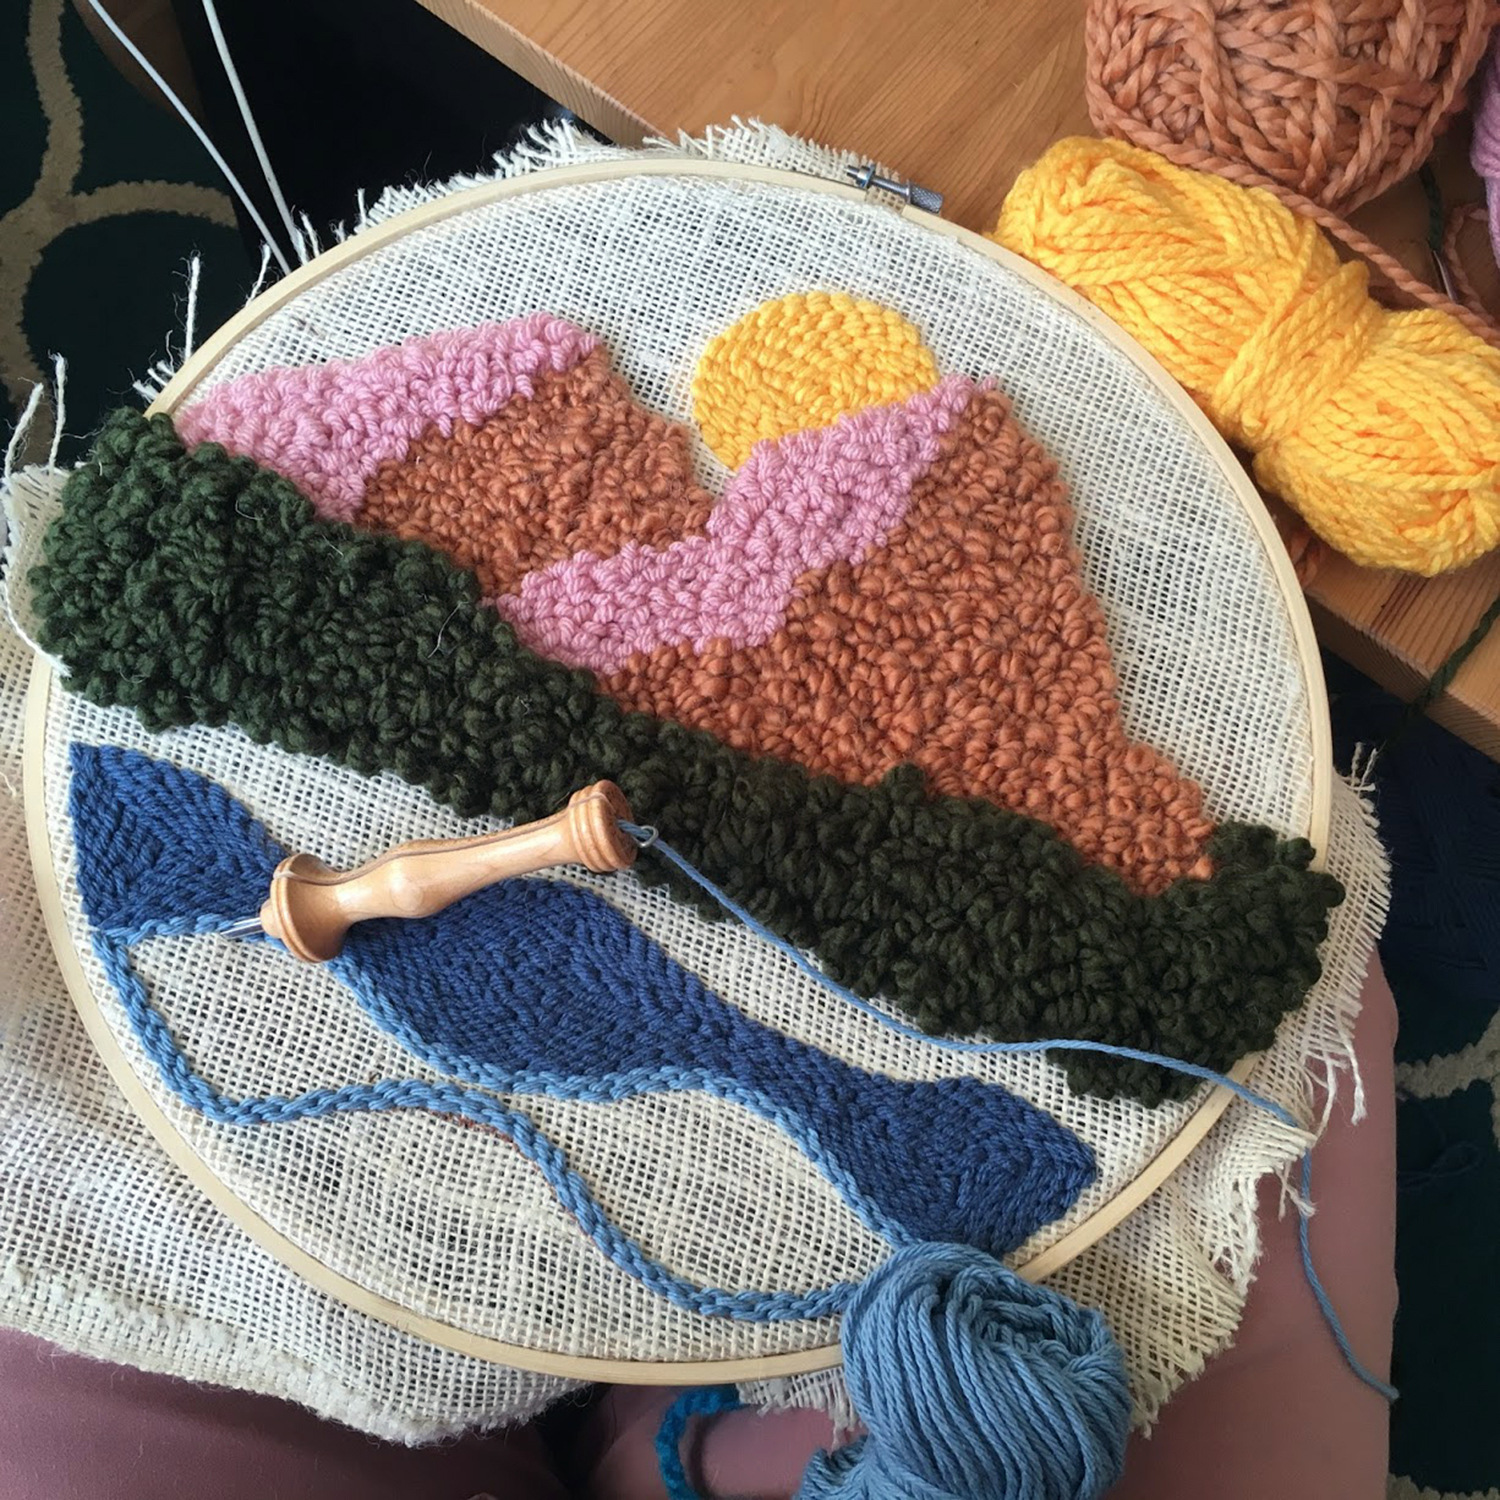
The full name of this technique is punch needle rug hooking. It’s a craft or art technique of looping yarn, ribbon or floss through the fabric. For me it’s another way to do embroidery.
There are two different kinds of stitches you can do with your punch needle: the flat stitch when you punch from the front, or the long loop when you punch from the back. Flat stitches can be small or long. It depends on your fabric, your design, your needle and your yarn. You can have different kinds of long loops. Some punch needles are adjustable so you can play with short or long loops.
Two different stitches
As I said just before, you can do two kinds of stitches with your punch needle: the flat stitch and the long loop stitch.

These two stitches are not using for the same thing. The flat stitch is good for lines and for surfaces. The long loop stitch is a perfect way to create volume on your work. It can give a fluffy looking and it can cover surface faster than the flat stitch.
The first picture is the front and the second picture is the back. From the back, your stitches look the opposite: on the back, the flat stitch is a long loop stitch and the long loop stitch is a flat stitch.
- Flat stitch
Push the punch needle through the fabric, until it stops. At this moment, and only for the first stitch, pull the end of the yarn, to have it on the back. of the fabric

Bring the needle back up slowly. It’s important that your needle stay all the time touching the surface of the fabric. Slide the needle for few millimeters and push the punch needle again through the fabric. Now repeat and cut the yarn when you need to use a new color.

- Long loop stitch
If you want to use long loops instead of flat stitches, punch the needle into the fabric from the back.

You will see the needle forming loops. When you are done with this yarn, you just have to cut it. Always cut yarn on the back, never on the front side of your work.
Other stitches
- Fringe
To make the fringe, you are going to need a crochet hook #4. If you don’t have it you can try to use any kind of not too big crochet hook you have.
Take one of this piece of yarn and fold it in two from the middle of it (b), it’s going to make a sort of loop, hold it in your hand. With your other hand, take you crochet hook and from the back (b), grab this loop and bring it to the back of your piece (c). Then take your crochet hook off. From the front, grab the loop in the back and bring it back to the front (d).

Now, take the two tails of the fringe and put them through the loop and pull (e, f). Your first fringe is done (g)! You can continue this way to fill the area you want to cover. When it’s done, I like to cut all the fringe to be sure they are all the same size.

- Fluffy stitch
First, I made loops by punching from the back side with the punch needle on size B. Then I cut each loop (a) to make them fluffy. When all loops are cut (b), I like to make it smoother with a quick «haircut» (c). It’s optional to cut loops on this areas but it brings a new texture that makes your punch needle piece more unique.

When you are filling an area with long loops and especially if you are going to make this area fluffy, you don’t need to have your loops close to each other.
How to thread a Punch Needle?

For any regular punch needle, you will need to use a threader to put on the yarn first through the chamber and then through the eye of the punch needle.
How to place the fabric on your hoop?
One of the most important secret to have the best result in all your needle project is the tension and how you to set up your hoop. You need to have the right amount of tension on your fabric. Especially for this project, it’s important to have your fabric very tight all the time. So think about checking the tension often.

An embroidery hoop is made of two hoops: the inner one and the outer one.
Your first step should be to loosen the screw on the outer hoop and then you can
separate the two pieces of the hoop (a).
Place the inner hoop on a flat surface and lay the fabric over the hoop (b). Place
the outer hoop over it (c) and use both hands to press it down onto the inner hoop
(d). The tension of the fabric should already feel fairly tight. You can now tighten
the screw and then gently pull the fabric with your fingers to make tight and even
(e). You will know that your fabric is tight enough when it makes a drum sound (f).
How to transfer a design on your fabric

Now, your hoop is ready, so you can transfer your design on your monk’s clothes. If you have a light box, it’s perfect. If you don’t have one, you can tape your printed-out pattern to the back side of your fabric and trace the pattern (b). You can use pencils, permanent fabric makers or markers to trace your design. You can also choose to trace your design directly on your fabric or just not transferring any design and try to draw with your threaded punch needle.
Finishing up
The first thing you can do now is to tighten your fabric. After, you can cut all extra yarns on the back. Don’t pull them too hard, you may remove all your work!

Your embroidery is almost finished. You can put glue on the inner hoop (a) by section, with your glue gun, or any other kind of glue. Then fold the fabric tight on the glue (b).
When it’s dry, you can cut all excess fabric from around your hoop with scissors, leaving about a 1/4 inch of cloth (c).
If you made long flat stitch you can put some glue on the back to securise your stitches (d). When you are all set, you can cover the back of your stitching with paper or felt, but you can also leave it as it is! You just finished your punch needle project.
Thank you!
Yes!! You did it! You should be proud of your creation and you should share it with all your crafty friends!
Please share your works in progressandfinishedpiecevia Instagram or Facebook with tags #TheComptoirPattern & #DIYTheComptoir
I can’t wait to see your punch needle pieces! And if you have any questions, please feel free to contact me: thecomptoir@gmail.com